
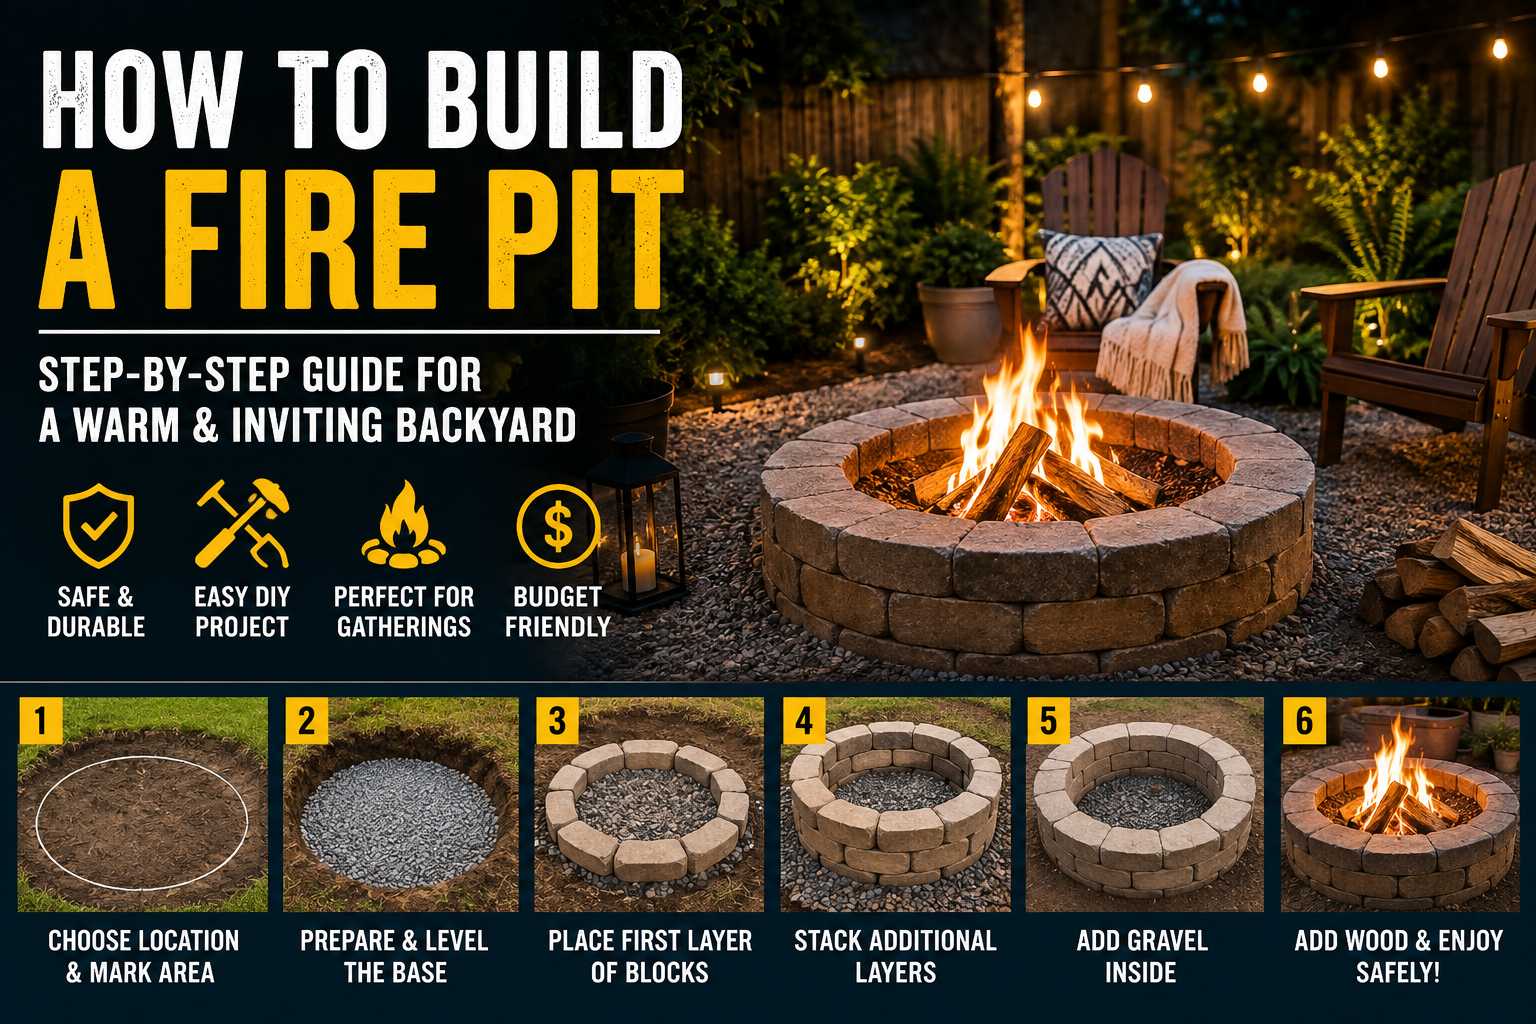
Learning how to build a fire pit can be a rewarding weekend project that adds warmth, character, and functionality to your outdoor space. A well-designed fire pit creates a comfortable centerpiece where family and friends can gather, relax, converse, roast marshmallows, and enjoy time outdoors. Whether you prefer a simple circular structure crafted from retaining wall blocks or a more polished masonry feature, careful planning and proper construction techniques ensure a safe, long-lasting installation.
Before you begin, consider key factors like location, safety clearances, local regulations, drainage, material selection, and structural dimensions. A fire pit must always be positioned a safe distance away from structures, trees, fences, and flammable materials. Always consult local fire restrictions and building requirements prior to construction.
This comprehensive guide covers everything from site selection and material choices to ground preparation, step-by-step assembly, and ongoing maintenance.
What Is a Backyard Fire Pit?
A fire pit is a dedicated structure designed to safely contain a recreational fire. It can be built in-ground, at surface level, or above ground using masonry blocks, natural stone, firebrick, or other heat-resistant materials.
Fire pit designs range from basic to complex:
- Basic Layouts: A gravel base enclosed by several tiers of fire-rated retaining wall blocks.
- Advanced Builds: Integrated seating walls, decorative stonework, cooking grates, or custom gas-burning inserts.
While wood-burning units are popular for their traditional crackling ambiance, gas fire pits offer rapid lighting, smoke-free operation, and enhanced convenience.
Planning & Safety Considerations
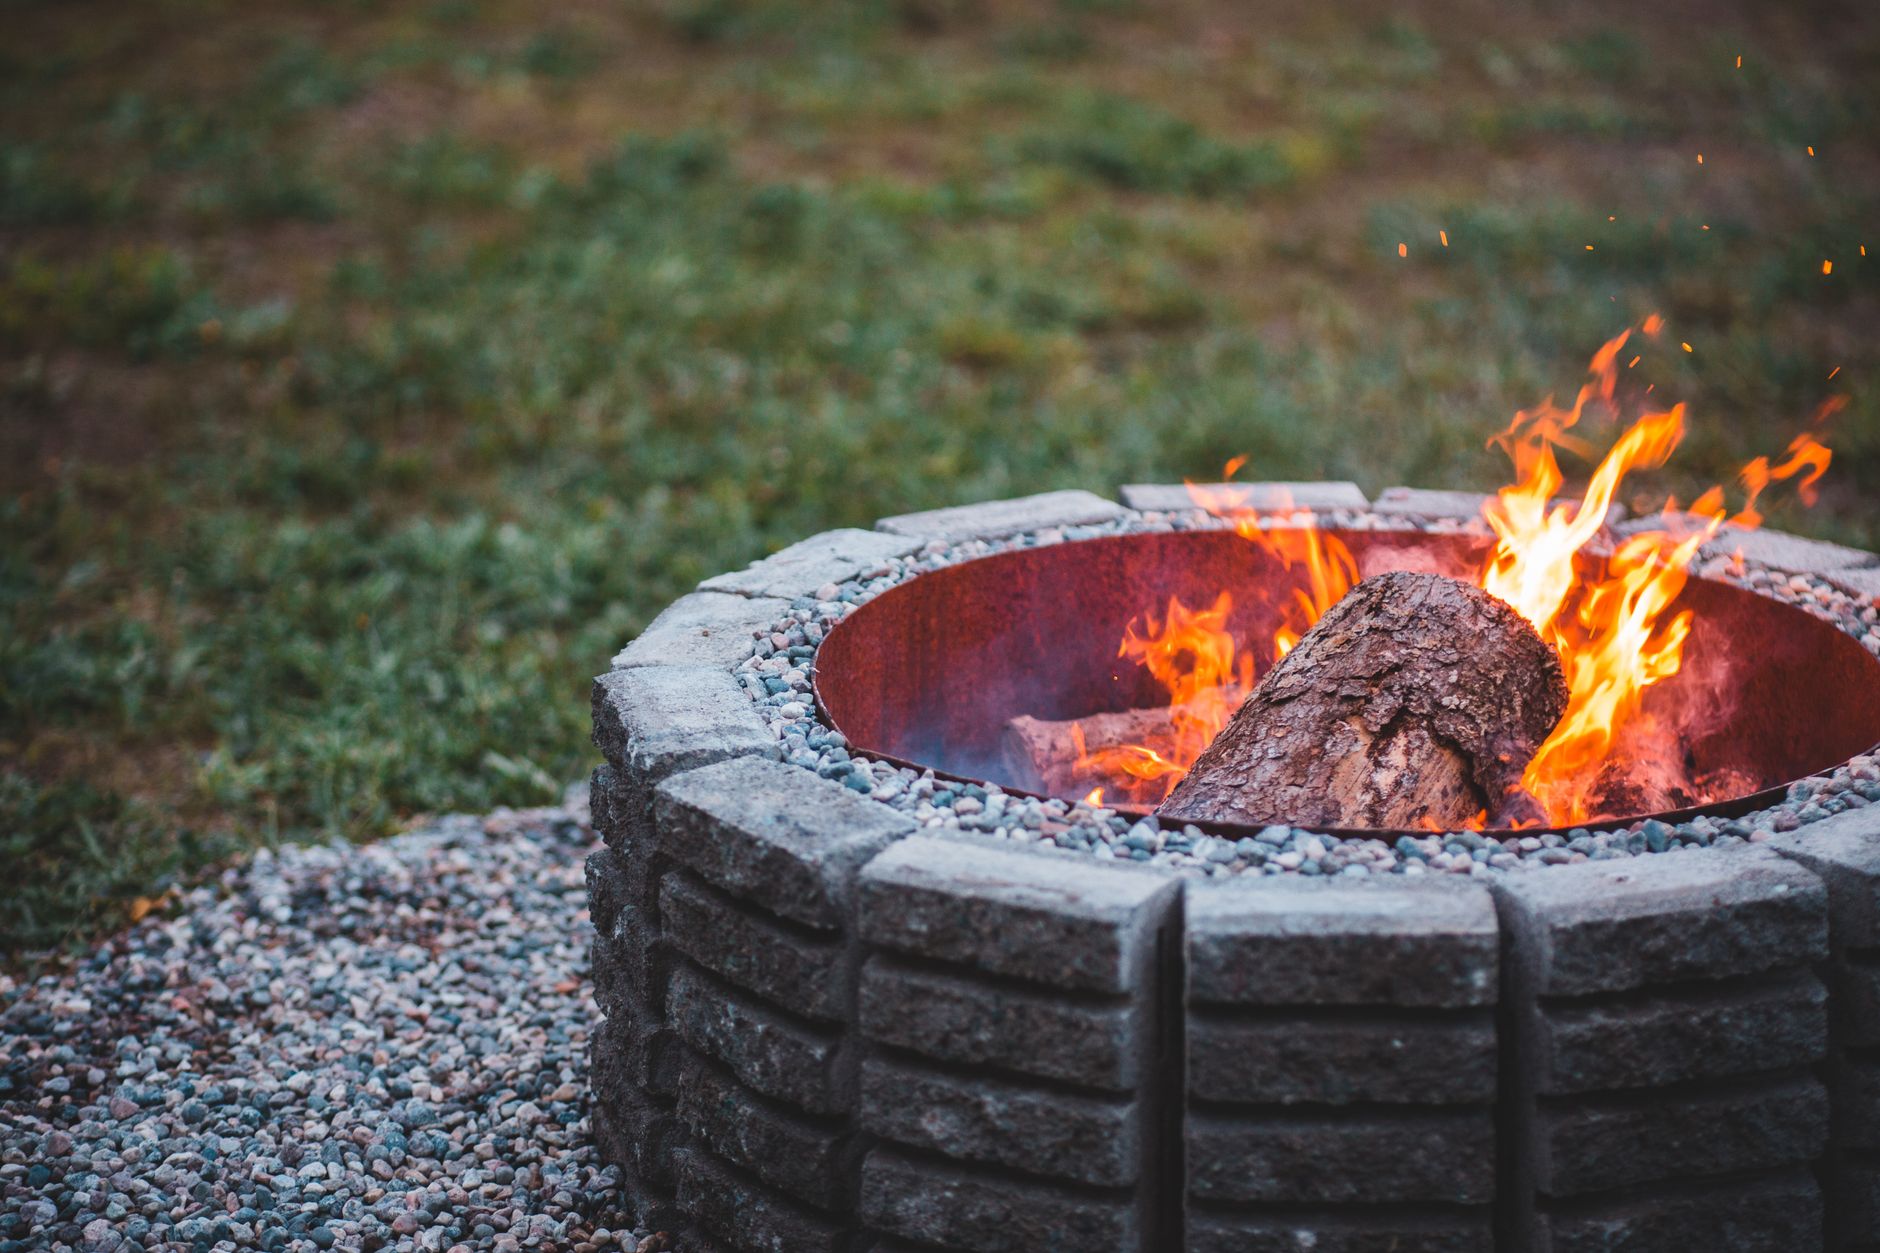
Proper planning ensures your fire pit is safe, functional, durable, and compliant with local standards.
1. Consult Local Regulations
Fire safety codes vary by municipality. Local regulations may govern minimum safety distances, allowable fuels, maximum burn dimensions, seasonal burn bans, and permit requirements. Always verify guidelines with your local fire department, city code office, or homeowners association (HOA) before building.
2. Select a Safe Location
Position the fire pit on a level, non-combustible surface clear of overhangs, low branches, wooden decks, fences, sheds, and primary structures. Ensure the site accounts for prevailing wind directions to keep smoke clear of nearby windows and neighboring homes.
3. Plan for Effective Drainage
Standing water inside a fire pit can hinder usability and degrade masonry over time. Choose a high or well-draining spot in your yard, and incorporate a thick aggregate gravel base to facilitate proper water runoff.
Choosing a Fire Pit Design
Select a style that aligns with your skill level, budget, and outdoor layout:
| Design Style | Key Features | Best For |
| In-Ground | Dug into the earth, lined with non-combustible masonry | Seamless, natural landscape integration |
| Above-Ground | Layered block structure resting on a prepped aggregate base | Beginner DIYers; easier site preparation |
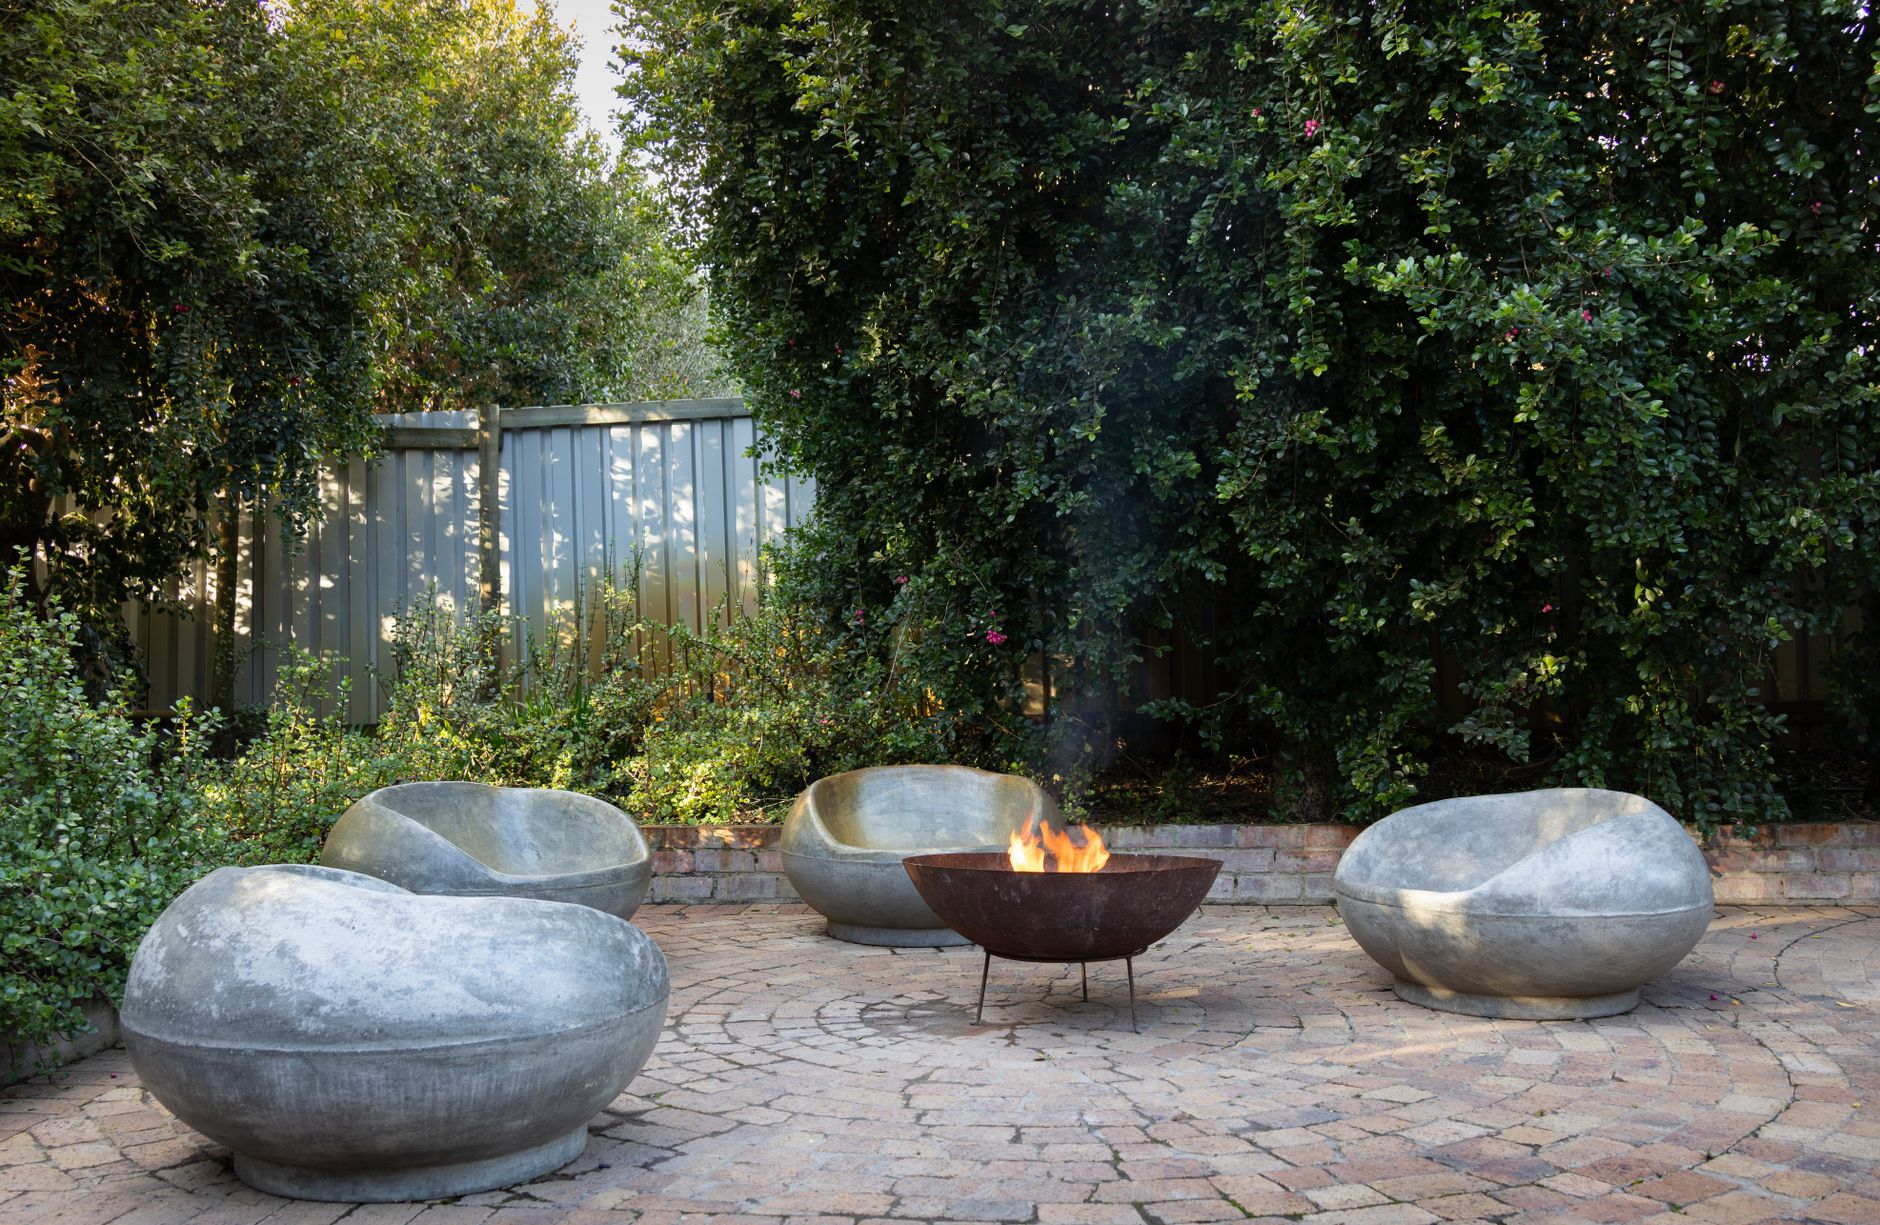
| Portable | Pre-manufactured metal or composite units | Renters; flexible or temporary setups |
Recommended Tools & Materials
Using heat-appropriate materials prevents structural cracking or heat-induced spalling:
- Fire-rated or interlocking retaining wall blocks
- Crushed stone or gravel (for base layer and drainage)
- Sand or leveling compound
- Steel fire ring or insert (optional, but recommended)
- Shovel, rake, and hand tamper
- Carpenter’s level and measuring tape
- Marking paint or masonry stake with string
- Protective work gloves and safety eyewear
Important Safety Note: Avoid non-porous river rocks, concrete blocks, or unrated stone inside the burn chamber, as trapped moisture can expand rapidly when exposed to high heat, causing materials to crack or shatter.
How to Build a Fire Pit Step by Step
Follow these foundational steps to assemble a durable above-ground block fire pit.
Step 1: Mark the Footprint
Select your center point and insert a ground stake. Tie a string equal to your intended outer radius to the stake, and use marking paint to trace a clear perimeter circle on the grass.
Step 2: Excavate the Site
Clear away sod, roots, topsoil, and debris within the marked circle. Dig down approximately 4 to 6 inches to create a firm, compacted subgrade foundation.
Step 3: Lay and Compact the Base
Fill the excavated hole with 3 to 4 inches of crushed aggregate gravel. Dampen slightly, then use a hand tamper to pack the gravel into a firm, solid base. Use a level across multiple directions to verify a flat surface.
Step 4: Set the First Tier of Blocks
Place the initial layer of masonry blocks along the perimeter. Work methodically, using a carpenter’s level on each block to ensure uniform height and a stable foundation without wobble.
Step 5: Verify Alignment and Level
Place a long level across opposing blocks. Adjust the underlying base material beneath individual blocks as needed until the entire base ring is completely level.
Step 6: Stack Subsequent Tiers
Stagger the vertical joints of each layer over the midpoints of the blocks below (running bond pattern) for optimal structural stability. If using blocks with interlocking lip ridges, ensure they sit tightly together.
Step 7: Install Heat Protection
Protect outer decorative blocks from direct flame contact by lining the interior ring with firebrick, heat-rated masonry, or a commercial steel fire ring insert.
Step 8: Add Internal Drainage Layer
Spread a 2- to 3-inch layer of crushed lava rock or pea gravel across the interior bottom of the pit. This protects the subgrade, supports drainage, and prevents ash accumulation directly on bare ground.
Step 9: Final Safety and Stability Inspection
Before lighting your first fire, check that all blocks sit firmly, the interior liner is secure, clear space surrounds the perimeter, and no flammable debris remains near the site.
Fuel & Firewood Selection
- Hardwoods: Seasoned oak, maple, hickory, or birch burn hotter, cleaner, and longer with minimal smoke.
- Storage: Store firewood raised off the ground in a dry, ventilated area protected from moisture.
- Fuel Warnings: Never burn pressure-treated lumber, painted wood, trash, plastic, or construction debris, as they release toxic smoke and harmful chemicals.
Creating a Comfortable Seating Area
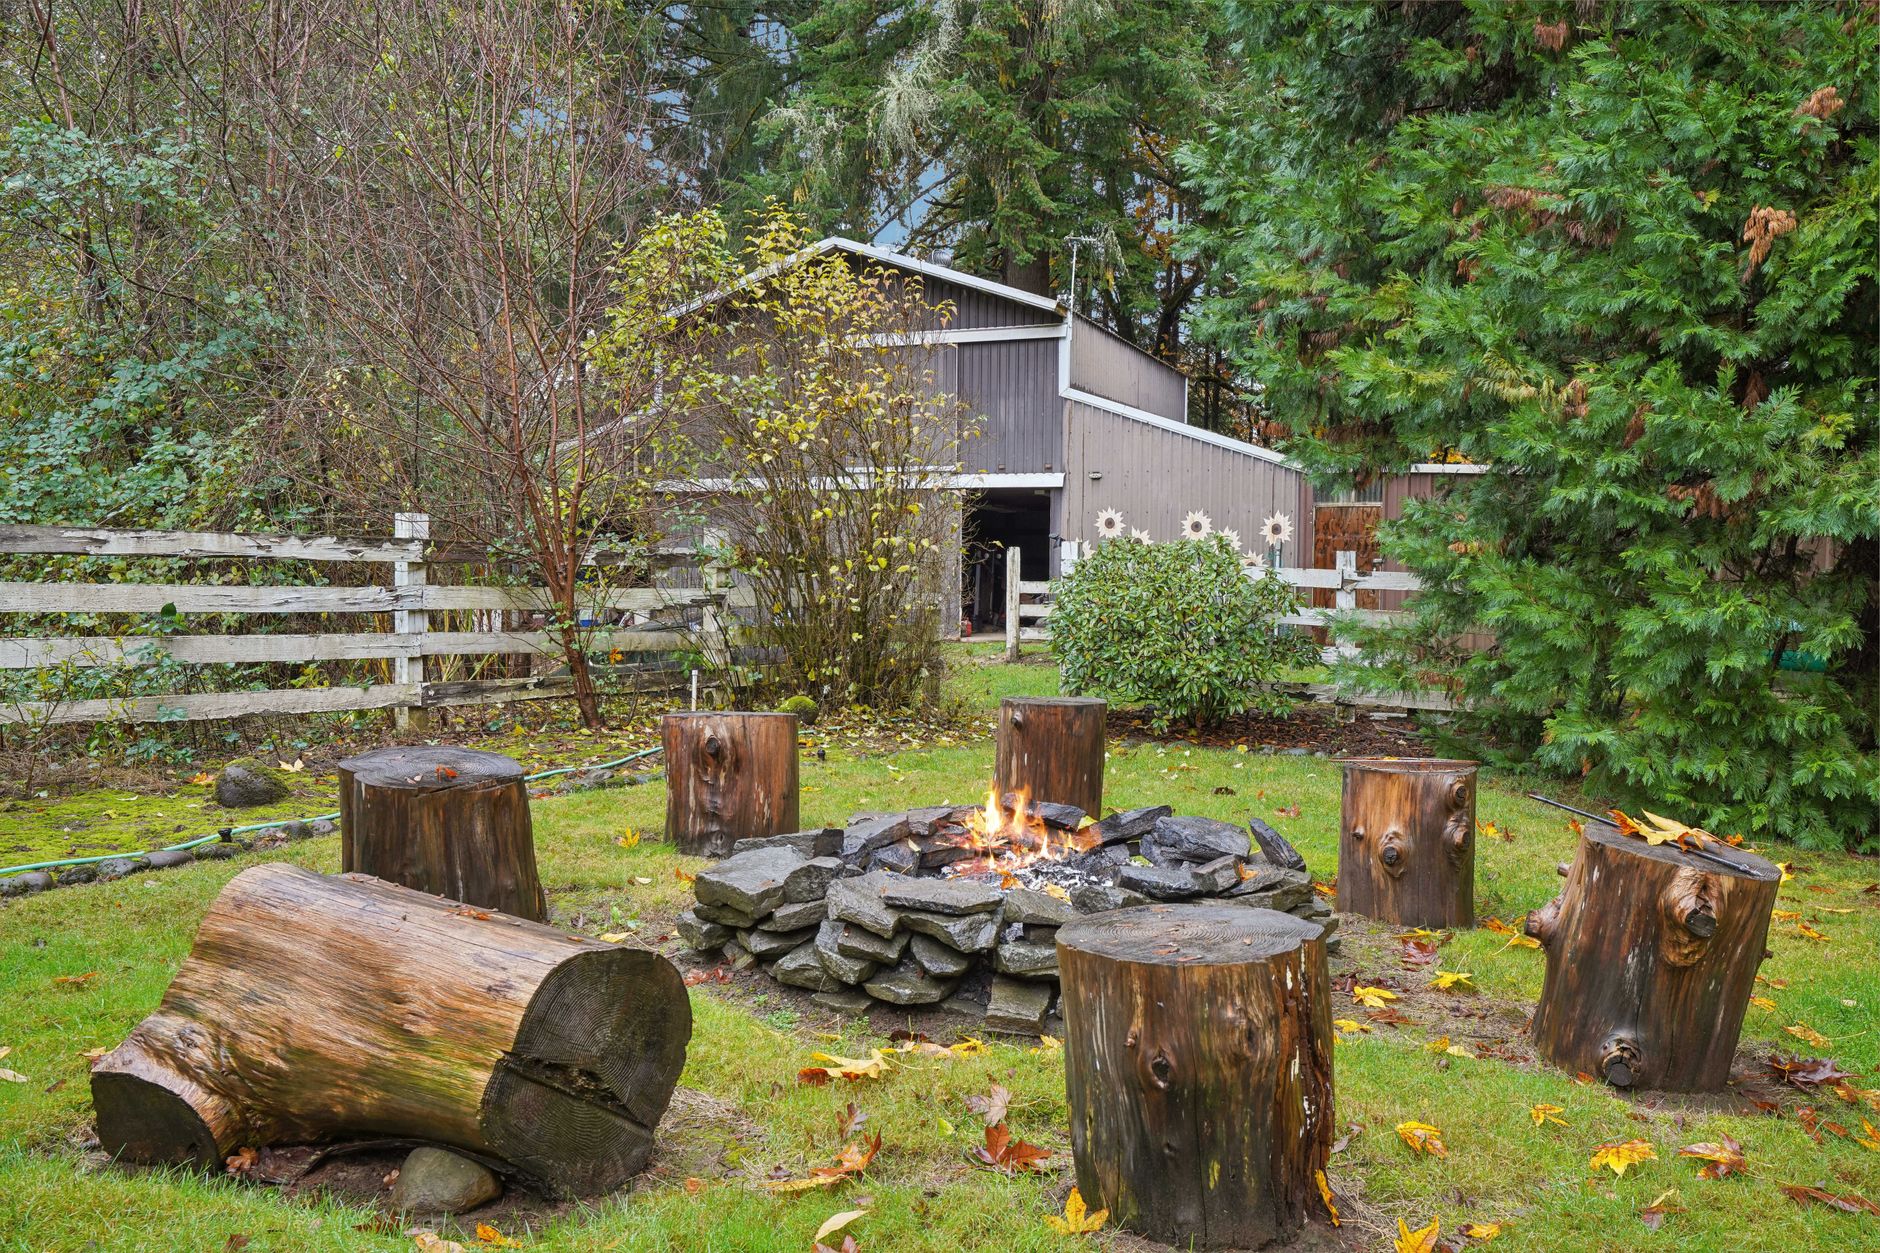
Turn your fire pit into a functional gathering hub:
- Position chairs, benches, or outdoor sofas at least 3 to 4 feet back from the fire edge for comfort and safety.
- Maintain clear pathways around seating for unhindered movement.
- Use weather-resistant, non-flammable hardscaping like gravel, stone pavers, or flagstone for the surrounding patio surface.
Common Mistakes to Avoid
- Inadequate Clearances: Placing the pit too close to wooden structures, fences, or low tree branches.
- Unrated Masonry: Using standard wall blocks that deteriorate under high thermal stress.
- Skipping Subgrade Prep: Placing blocks on bare topsoil leads to uneven settling and leaning walls over time.
- Neglecting Drainage: Omitting gravel sub-bases causes water pooling and messy ash slurry.
Essential Safety Protocols
- Always keep a working garden hose, bucket of sand, or Class A fire extinguisher nearby.
- Never leave an open fire unattended, and supervise children and pets closely.
- Avoid using liquid accelerants (gasoline, lighter fluid) to start or revive a fire.
- Refrain from lighting fires on excessively windy days or during dry spell burn bans.
Frequently Asked Questions
Is it difficult to build a basic fire pit yourself?
A standard above-ground masonry fire pit is a manageable DIY project requiring basic hand tools, proper materials, and careful ground leveling.
What is the best material for lining a fire pit?
Firebrick, high-heat refractory mortar, and heavy-gauge steel fire rings offer superior protection against thermal wear.
Can I build a fire pit directly on grass?
No. Always clear sod and topsoil to build on a compacted gravel base. Building on grass creates fire hazards and causes uneven structural settling.
How do I prevent standing rainwater in my fire pit?
Incorporate a deep aggregate gravel base layer during construction, and cover the pit with a fitted weatherproof lid when not in use.
Conclusion:
Building a fire pit adds value, warmth, and an inviting focal point to your backyard landscape. By planning your design carefully, picking heat-appropriate materials, building a stable base, and adhering to local fire codes, you can enjoy a safe and attractive outdoor feature for years to come.
1 thought on “How to Build a Fire Pit: A Complete Step-by-Step Guide for Your Backyard”